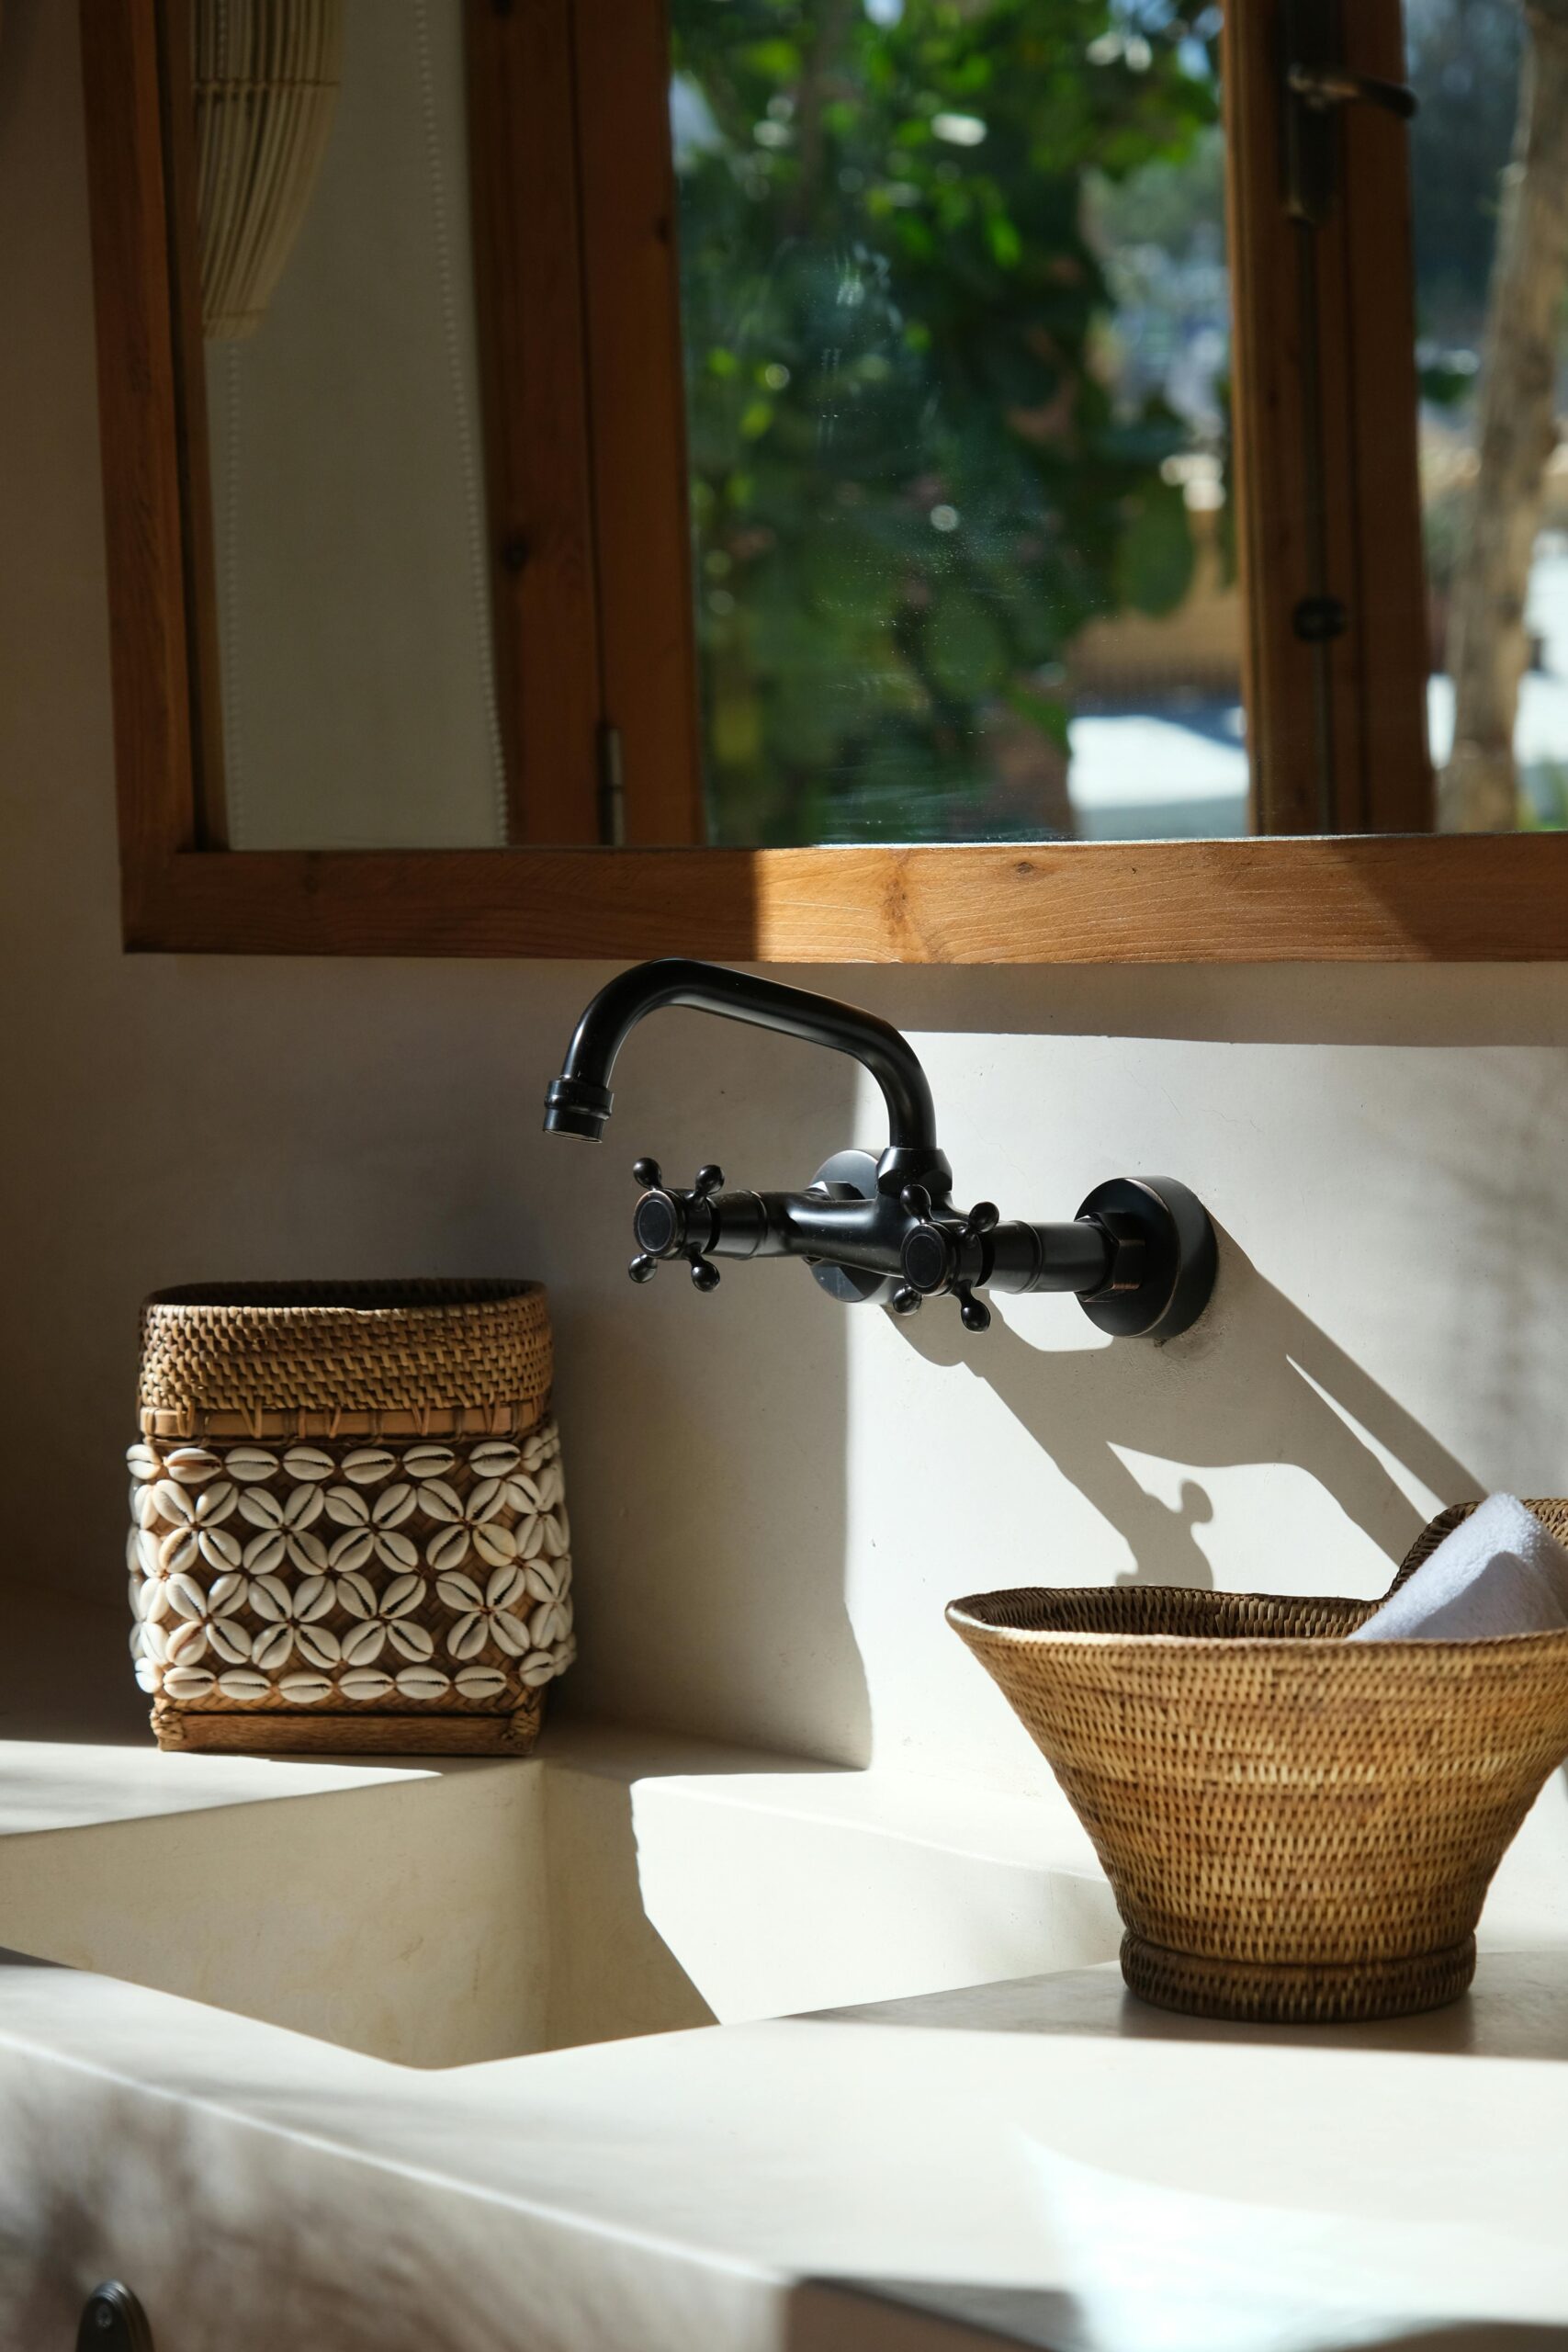
A leaky faucet is one of the most common household annoyances, but the good news is that you don’t need a plumber to fix it. With just a few tools and a little patience, you can stop the drip and save water (and money) in less than an hour. In this guide, I’ll walk you through the exact steps to fix a leaky faucet, whether it’s a compression, ball, cartridge, or ceramic disk faucet.
Why Is Your Faucet Leaking?
Before grabbing your tools, it’s essential to understand why your faucet is leaking. In most cases, a worn-out washer, O-ring, or valve seat is the culprit. Over time, these small components degrade, allowing water to seep through even when the tap is off. Identifying the exact cause will help you fix the leak efficiently.
Tools & Materials You’ll Need
- Adjustable wrench
- Screwdrivers (Phillips and flat-head)
- Replacement washers, O-rings, or seals
- Plumber’s tape
- Penetrating oil (if parts are stuck)
- A small towel or rag to cover the drain
Step-by-Step Guide to Fixing a Leaky Faucet
Step 1: Turn Off the Water Supply
Before doing anything, locate the shut-off valves under the sink and turn them off. If you can’t find them, turn off the main water supply to your home. Open the faucet to drain any remaining water and relieve pressure in the pipes.
Step 2: Plug the Drain and Remove the Handle
Cover the drain with a rag or stopper to prevent small parts from falling in. Use a screwdriver or Allen wrench to remove the screw holding the handle in place, then gently pull the handle off.
Step 3: Identify Your Faucet Type
Faucets come in different types, and the repair process depends on the one you have:
- Compression Faucet: Uses rubber washers that wear out over time.
- Ball Faucet: Contains a ball assembly that controls water flow.
- Cartridge Faucet: Uses a cartridge instead of washers.
- Ceramic Disk Faucet: Has a durable ceramic disk that controls water flow.
Step 4: Replace the Faulty Part
For Compression Faucets:
- Remove the packing nut and stem.
- Take out the old washer and replace it with a new one.
- Reassemble and tighten everything back.
For Ball Faucets:
- Remove the cam and ball assembly.
- Replace worn-out O-rings and springs.
- Reassemble the faucet and secure all parts.
For Cartridge Faucets:
- Pull out the cartridge and check for damage.
- Replace the cartridge if worn out.
- Reinstall and tighten all components.
For Ceramic Disk Faucets:
- Remove the ceramic disk cylinder.
- Replace any damaged seals.
- Reassemble and test the faucet.
Step 5: Reassemble and Test
Once you’ve replaced the faulty part, put everything back together in reverse order. Turn the water supply back on and slowly open the faucet. Check for leaks, and if everything is dry, you’ve successfully fixed your leaky faucet!
Common Mistakes to Avoid
- Overtightening Screws: This can crack delicate parts.
- Skipping Washer Replacement: Always replace old washers when taking apart a faucet.
- Forgetting to Turn Off Water: This can lead to a flooded sink.
When to Call a Plumber
If the leak persists despite replacing parts or if you notice major damage to the faucet body, it’s best to call a professional. Some leaks indicate deeper plumbing issues that require expert attention.
Conclusion
Fixing a leaky faucet yourself is easier than you might think. By following these steps, you can stop the annoying drip, save water, and avoid costly plumber fees. So next time your faucet starts leaking, grab your tools and take control of the repair!