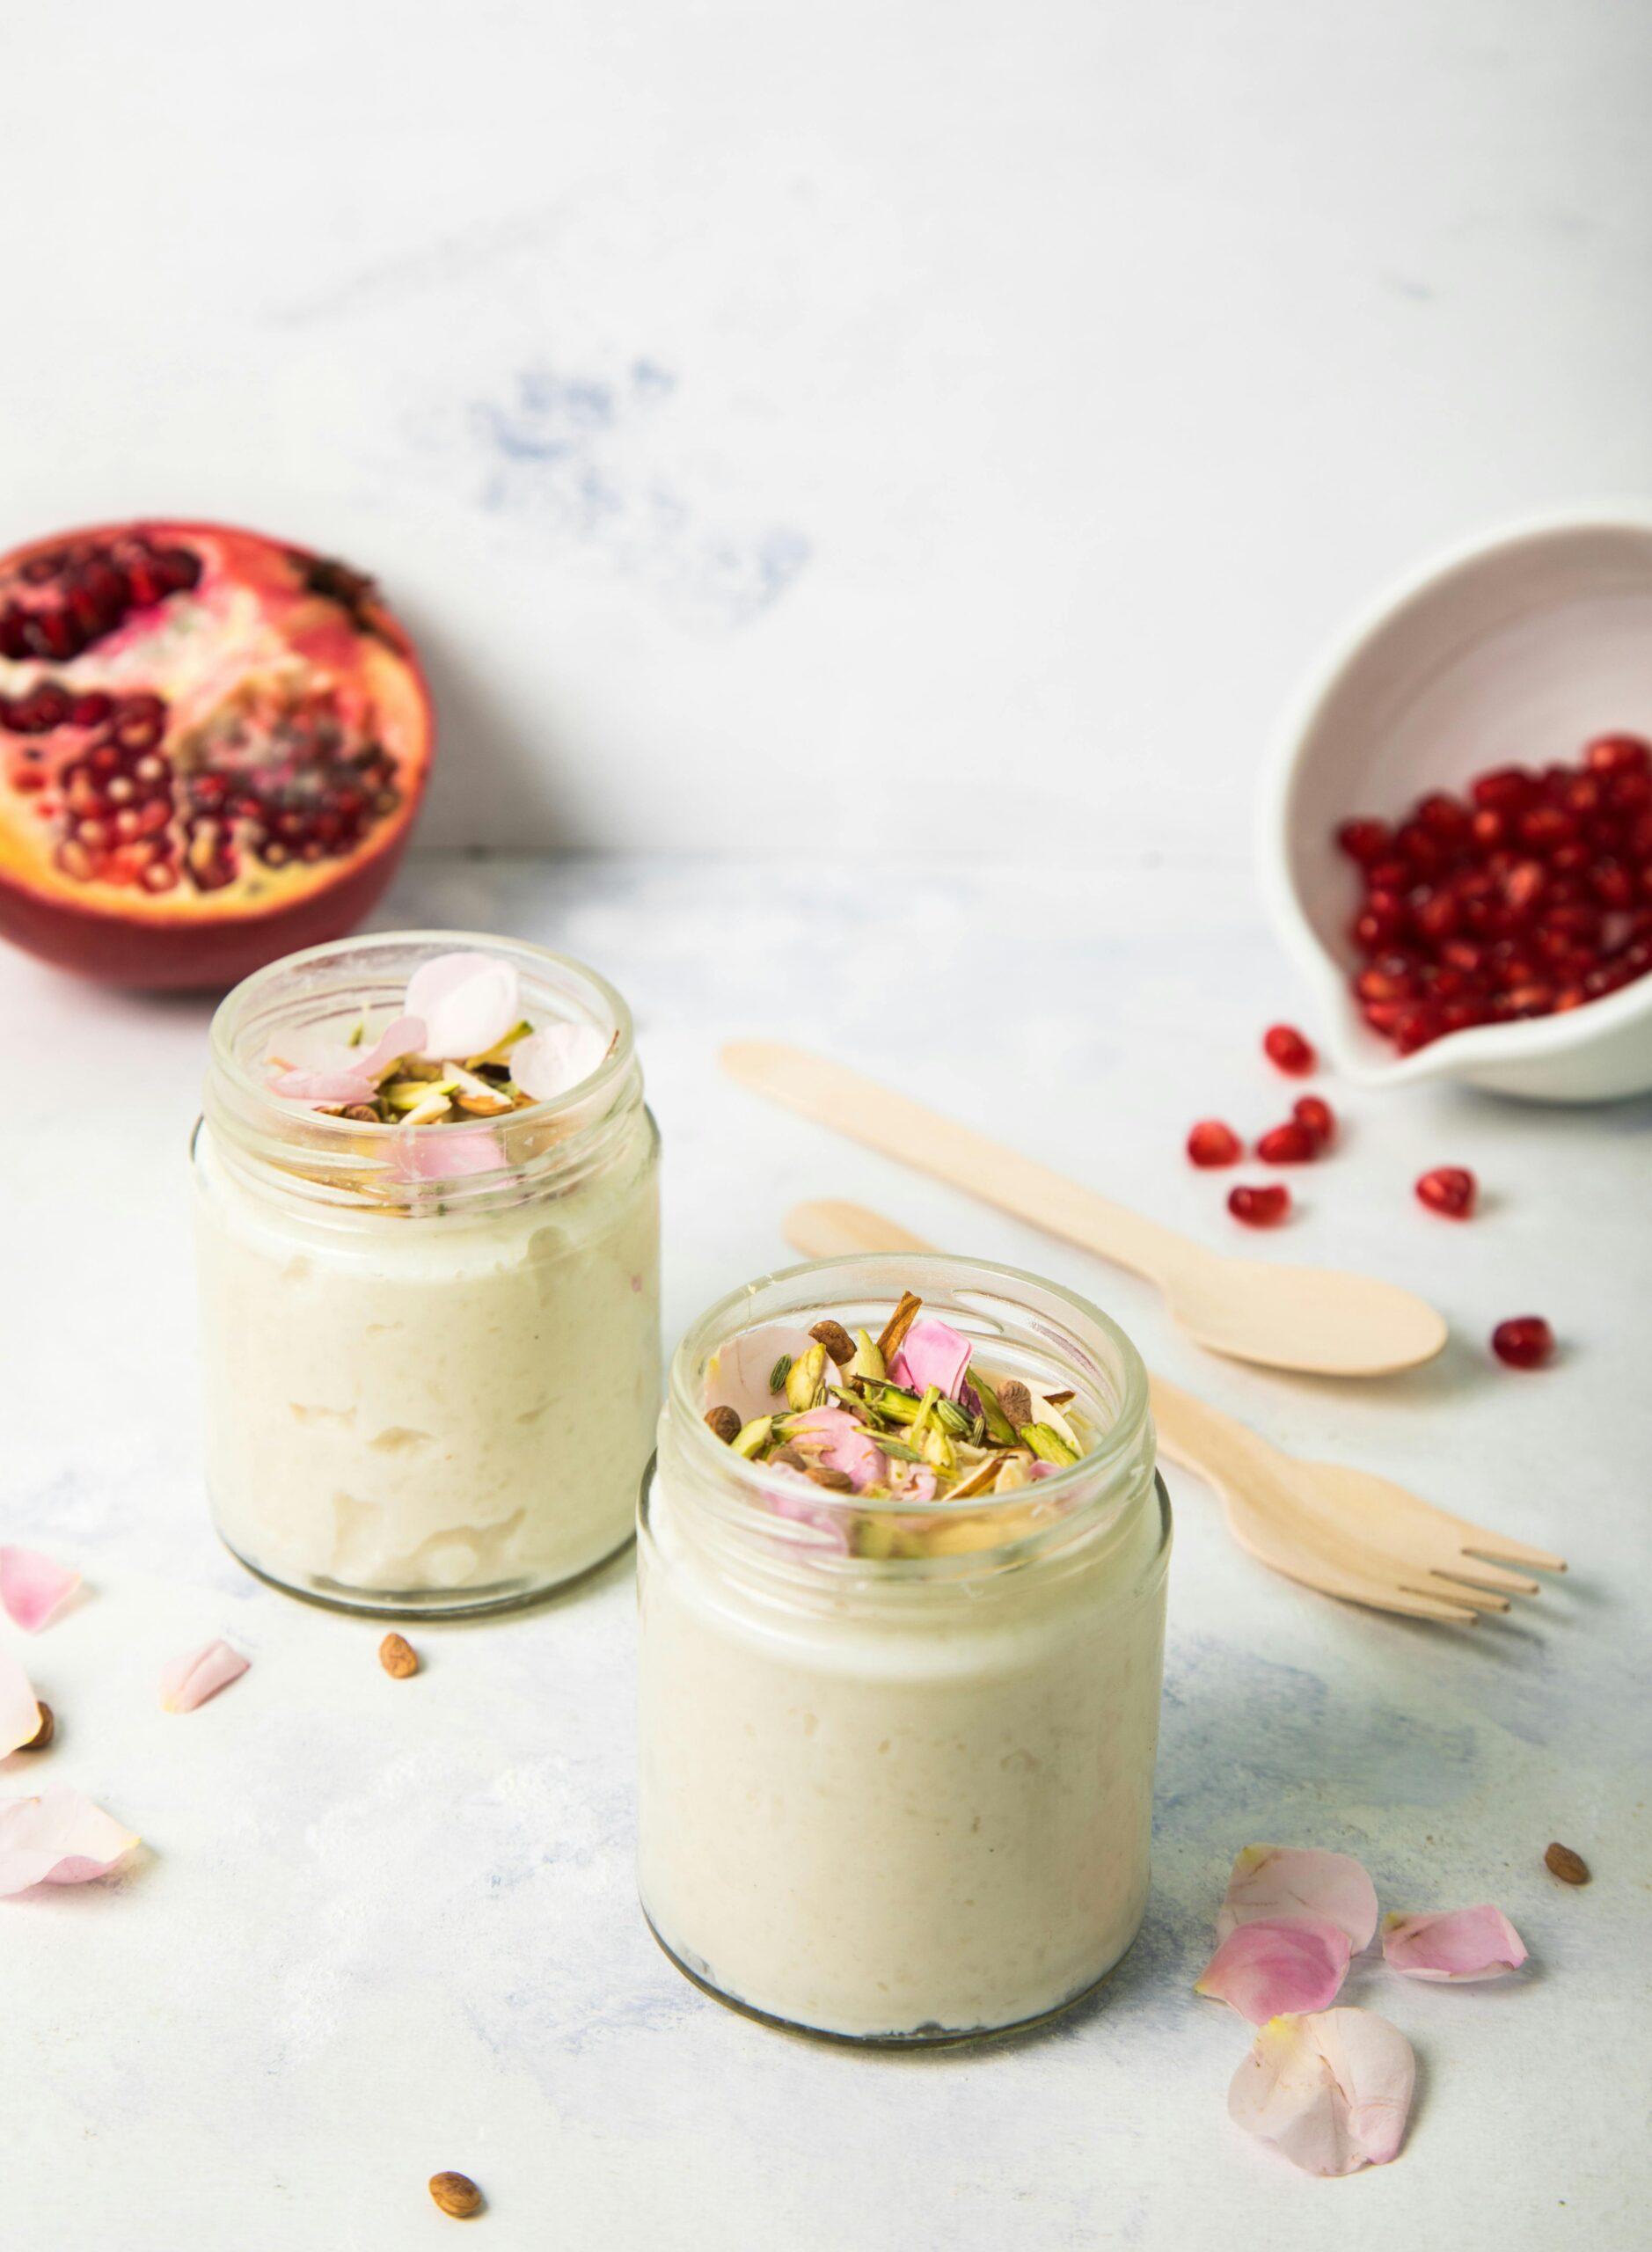
If you’ve ever wanted to make yogurt at home but thought you needed a fancy machine, let me tell you—it’s easier than you think. I’ve been making homemade yogurt for years, and trust me, once you try it, you’ll never go back to store-bought. Not only is homemade yogurt fresher and more flavorful, but it also allows you to control the ingredients, ensuring a healthier option without preservatives or unnecessary additives.
What You Need to Make Yogurt Without a Machine
Before we dive into the step-by-step process, let’s go over the essentials. The good news? You likely already have everything in your kitchen.
Ingredients:
- Milk (whole milk is best for creamier yogurt, but you can use 2% or skim)
- Starter culture (plain yogurt with live active cultures or a commercial yogurt starter)
Tools:
- Heavy-bottomed pot
- Thermometer (optional but helpful)
- Whisk
- Bowl
- Towel or blanket
- Oven, cooler, or another warm place for incubation
Step 1: Heat the Milk
Pour your milk into a heavy-bottomed pot and slowly heat it over medium heat until it reaches 180°F (82°C). This process kills any unwanted bacteria and helps create a thicker consistency. Stir occasionally to prevent scorching. If you don’t have a thermometer, heat it until it’s steaming but not boiling.
Step 2: Cool the Milk
Once your milk has reached the right temperature, remove it from the heat and let it cool to 110°F (43°C). This is the perfect temperature for introducing your yogurt culture. If the milk is too hot, it will kill the bacteria; too cool, and it won’t activate properly.
Step 3: Add the Starter Culture
Take about a cup of warm milk and mix it with 2 tablespoons of yogurt (your starter). Stir well to combine, then pour it back into the pot with the rest of the milk. Whisk thoroughly to distribute the live cultures evenly.
Step 4: Incubate the Yogurt
Now comes the most important part—incubation. You need to keep your yogurt warm, around 100°F–110°F (38°C–43°C), for 6-12 hours. Here’s how to do it without a yogurt maker:
- Oven Method: Turn your oven on for a few minutes to warm it up, then turn it off. Place the pot inside, wrapped in a towel, and keep the oven light on.
- Cooler Method: Fill a cooler with warm water (around 110°F) and place the covered pot inside. Close the lid to maintain the temperature.
- Towel Method: Wrap the pot in a thick blanket or towel and leave it in a warm spot, such as near a radiator or on top of the fridge.
The longer you let it incubate, the tangier the yogurt will be. If you prefer mild yogurt, 6-8 hours is perfect; for a stronger taste, go up to 12 hours.
Step 5: Check and Refrigerate
After the incubation period, your yogurt should be set. It will have a slightly firm texture and may have some whey (a clear liquid) on top—that’s normal! If it looks right, transfer it to a container and refrigerate for at least 4 hours before eating. This helps it firm up even more and develop its full flavor.
Optional: Straining for Greek Yogurt
If you prefer thicker yogurt, strain it through a cheesecloth or coffee filter for a few hours. The longer you strain it, the thicker it becomes. This is how you get Greek yogurt consistency!
Flavoring and Customization
One of the best parts of making yogurt at home is that you can customize it exactly how you like. Try adding:
- Honey or maple syrup for natural sweetness
- Fresh fruit or fruit compote
- Granola or nuts for extra crunch
- Vanilla extract or cinnamon for added flavor
Troubleshooting Common Yogurt-Making Problems
- Yogurt didn’t set: Your milk may have been too hot when adding the starter, or the incubation temperature was too low.
- Too runny: Either it didn’t incubate long enough, or the milk wasn’t heated properly.
- Too tangy: Next time, incubate for a shorter period.
- Weird texture or separation: Make sure you’re using a good-quality starter with live cultures and fresh milk.
Conclusion
Making yogurt at home without a machine is easier than you might think, and the results are absolutely worth it. Not only is it a cost-effective alternative to store-bought yogurt, but it also allows you to create a healthier, more natural product. Once you get the hang of it, you’ll be experimenting with flavors, thickness, and even different milk types in no time. So, why not give it a try? You might just find yourself hooked on homemade yogurt!
